The process matters to the buyer
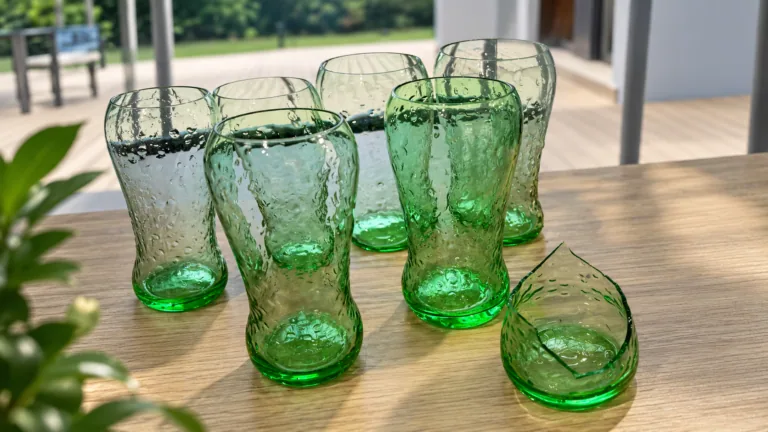
Handmade glassware is often described through craftsmanship and visual character. For a professional buyer, the more useful view is how the product moves from material to finished piece and which decisions must be confirmed at each stage.
The process may include material preparation, melting, gathering, shaping, adding details, cooling, finishing, and inspection. The exact sequence depends on the product, design, material, equipment, and agreed production method.
1. Material and project preparation
The process begins with the material and the product brief. Before sampling, the buyer and manufacturer should clarify the required form, color, finish, application, decoration, and relevant use conditions.
The supplier should identify the material and process information that can be documented for the project. A general description of raw materials does not by itself prove a particular clarity, strength, color, or performance result.
2. Melting and workability
Glass material is heated until it reaches a workable molten state. Temperature, timing, material condition, furnace history, and operator decisions may all be relevant to forming.
The practical buyer questions are:
- Which material and process are proposed?
- Which process details affect the product brief?
- What information can the supplier document?
- Which characteristics require physical sampling or technical verification?
3. Gathering and preparing the glass
In a hand-blown process, the glassmaker gathers a portion of molten material onto a blowpipe or similar tool. Rotation and handling help prepare the gather for the next forming steps.
Some traditional process descriptions also refer to tools such as a marver, jacks, shears, paddles, or punties. These tools can help shape, support, or finish a piece, but the relevant tool set depends on the product and workshop. They should not be treated as universal equipment specifications.
4. Shaping and blowing
The artisan shapes the molten glass while introducing air through the pipe to form the initial body. Tools may guide the form, open areas, or support the intended design.
For a buyer, this stage connects a drawing or rendering to a physical result. It can reveal:
- proportion and silhouette
- wall distribution
- rim and edge decisions
- balance and handling
- the relationship between the design and the material
5. Adding details and finishing features
Details such as handles, decorative elements, trailing, engraving, or color may be added while the glass is workable or during later finishing. The suitable process depends on the design and required appearance.
Each additional feature can create another sampling and approval question. The buyer should define what must match, what may vary, and which visual or performance claims require evidence.
6. Cooling and annealing review
After shaping, the glass must pass through a controlled cooling stage appropriate to the product and process. The purpose and exact conditions require confirmation from the manufacturer.
The buyer should ask what cooling process is used for the proposed design and which inspection or test evidence supports the intended application.
7. Inspection and final finishing
Once the product has cooled, the buyer and manufacturer may review form, surface, rim, base, decoration, color, and other agreed requirements. Final finishing can include edge treatment, polishing, engraving, or other project-specific work.
The approval standard should distinguish measurable features from visual features. It should also identify which differences are acceptable handmade character and which are defects for the intended market.
What handmade production means for sampling
A physical sample helps the buyer evaluate decisions that drawings cannot fully settle. It does not automatically establish production repeatability, universal tolerances, yield, or lead time.
Before approving a sample, record:
- the features the sample demonstrates
- the features still open for development
- the accepted visual reference
- the intended application and use conditions
- the next inspection or approval decision
[RELATED ARTICLE: Post 318 — Why Handmade Glass Decisions Can’t Be Fully Confirmed Before the First Physical Prototype]
[RELATED ARTICLE: Post 314 — Why a “Perfect” Prototype Can Still Fail in Production]
Questions for a manufacturing discussion
Ask the supplier:
- Which process steps are relevant to this product?
- Which design details require physical validation?
- How are material, color, form, and finish references recorded?
- What will be measured, visually inspected, or tested?
- Which variation is acceptable for the intended use?
- Which process and performance claims still require verification?
Final takeaway
Handmade glassware is the result of connected material, forming, cooling, finishing, and inspection decisions. Understanding that sequence helps professional buyers set realistic sampling expectations without romanticizing craft or assuming unverified process performance.
If you are developing handmade glassware, share the product brief, intended application, key design features, sample requirements, and approval questions for a focused manufacturing discussion.
Planning a handmade glassware project?
Share the design brief, application, sample requirements, and approval criteria so the production process can be discussed at the right level of detail. Discuss manufacturing requirements with Eukaglass.
FOR PROFESSIONAL BUYERS
Planning a Glassware Project?
Discuss product requirements, samples, sourcing, manufacturing, or OEM development with our team.